COO-COO 4 CONTOUR
Hey guys! Are you contour illiterate like me?! If so, then this post will help guide you into becoming a contour Queen especially with help from our friend Lissa!
I wanted to dabble into contouring but I personally don't like to wear a lot of makeup on an every day basis & had no idea where to start with the dots and then blending them all in so I felt lost! But I had a Sephora gift card I was dying to use and thought this is the perfect time to find a contour kit that is right for me!
After failing when doing a powder version tutorial I realized I wanted liquid, which led me to this....
Dr. Jart+ ($45)
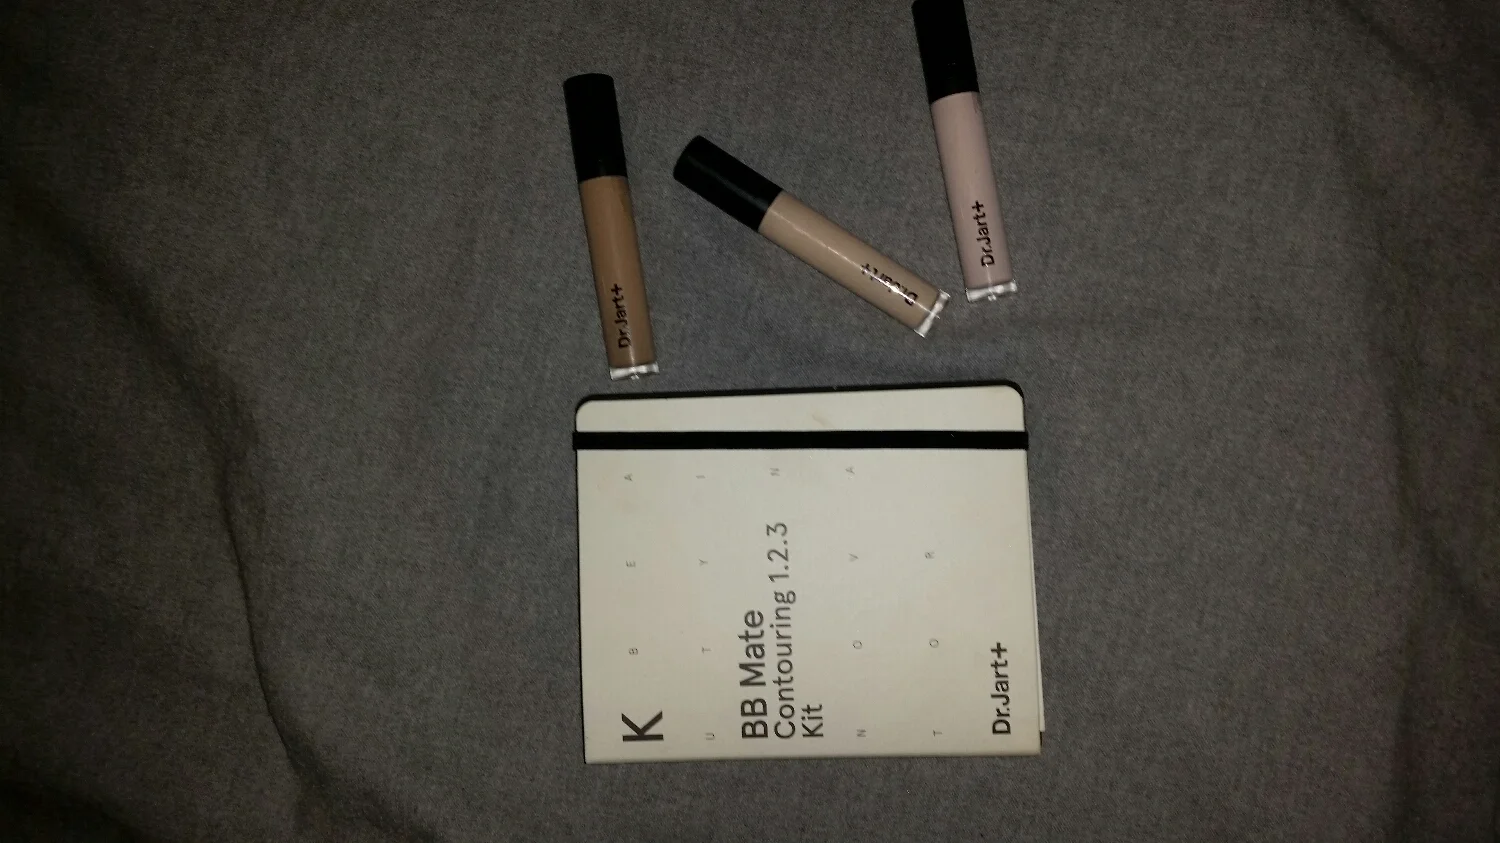
This is a Korean beauty product that serves several purposes!
1. UV protection
2. Moisturizer
3. Light BB cream for natural blending
4. Protects skin
I wanted to share this product with you guys so you could try contouring without going crazy!
I am starting to use this product as my base when I do wear makeup. It looks soft & natural while feeling light. I add some blush and boom done. Only takes about 10 mins after your first time figuring it out. Hehe!
The product has a creamy texture with three shades. A base, highlighter & bronzer. It comes with detailed directions ( I still look at them while I apply lol ) in a cool sleek case.
I was so blind to contouring I had to ask friends , "like do I rub all the smudges together? How do I blend once I've marked up my face?"
SO that is when my long time dear friend gave me some tips that have helped me & will hopefully do the same for you! Her name is Melissa & she has her own YouTube channel dedicated to sharing makeup tips, tricks & tutorials( Check her out @lissa beauty) ! She is a super bubbly and fun girl who knows her makeup!
Lissa Beauty suggest:
- You want to first start off by choosing a bronzer, She suggest going a shade or two darker from your skin tone. If you have dry skin and prefer some shine, go with a powder with some sheen or shimmer. If you have oily skin pick a bronzer that is matte! ( awesome I totally love this tip! )
- Find a good contouring brush that is precise but can also blend. I love the elf contouring brush that is around $5 at Target! ( I love a deal! )
- I love to start with my cheekbones. I start carving out my cheeks starting from the top of my earlobes to the corner of my mouth. You want to make sure the most pigment is by your earlobe ... not your mouth as you want the color to fade by the time you reach the corner of your mouth!
- To contour your forehead, you want to evenly blend the bronzer from just above your temples diagonally to the center of your forehead. If you have a large forehead, blend the bronzer a little bit towards your eyebrows to make your forehead look smaller. ( Great thinking! )
- Last but not least, to contour your chin, start from the bottom of your earlobe and blend to the underneath of your chin. And BLEND BLEND BLEND!
So for all my ladies who like to keep it natural & light & real ( like we are ) try this product out and follow theses tips from our great friend LISSA BEAUTY!!!
Check her out on YOUTUBE & the IG under: LISSA BEAUTY!

Here's the end product!
Let me know how contouring works for you & if you have any tips or tricks for us!!!
thanks loves ♡♡♡
-Xo Sam